No matter what we think of time and its mysterious nature, it's an integral part in understanding how and why things happen. When learners focus on time, this component of human experience brings a great deal of temporal context to concepts being explored. Helping pupils construct a timeline promotes the transfer of knowledge. Thankfully, technology makes it possible for our learners to access a useful tool for placing events in sequential order. It's called Timetoast and it's a resource that's guaranteed to make chronological categorization very comfortable. Timetoast is a free service that allows registered users to generate snazzy interactive resources (i.e, robust timelines packed with images and hyperlinks). Once created, the timelines can be shared with anyone via the web.
To get started, visit the Timetoast website.
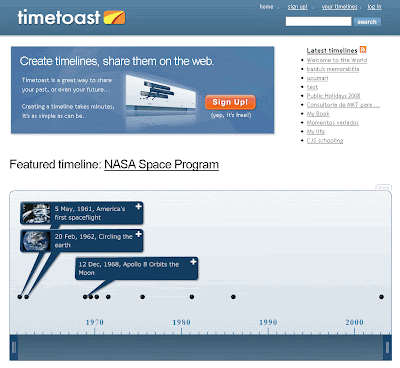 Once there, sign up for an account.
 A screen like this'll pop up. Merely supply the requested information. We'll need to make sure the email account we're supplying is a functioning email account. Timetoast will send us a link to the activate the account.
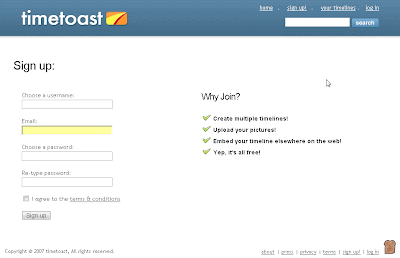
After supplying the requested information, press the Sign up button.
 A confirmation message appears telling us to check the email account we supplied.
 Sure enough, if we check our email account, we get a note asking us to activate our new Timetoast account.
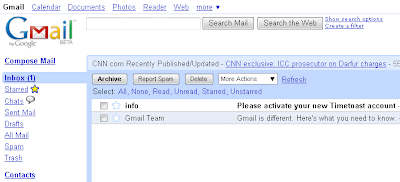
When we open the email, we get a message that includes a link. We click the link.
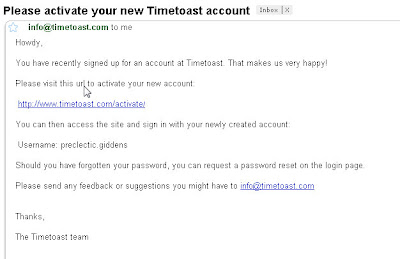 Clicking on the link activates our new account.
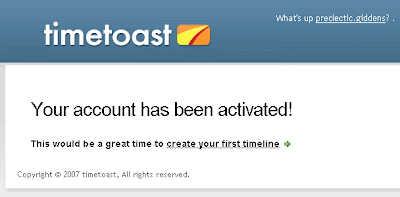 As the message, indicates, this is the perfect time to create a new timeline. We click the link provided.
We're greeted with this screen:
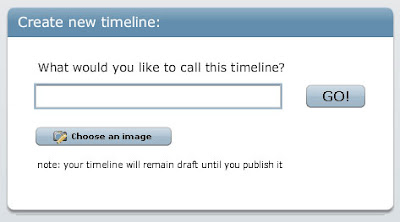
We decide to create a timeline about the life of Charles Dickens. So, we name the timeline accordingly.
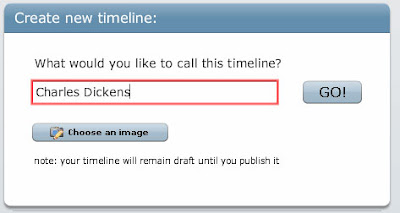 We also decide to use an image to accompany our timeline. We decide to use an image that we have on our computer. So, we click the Choose an image button.
 At this point, we'll need to upload an image to our account at Timetoast. Think of Timetoast as being a filing cabinet that's designed to hold all of the components needed for assembling our timeline. If we want an image to appear in a timeline, we'll need to upload or deliver that image to Timetoast who'll graciously hold onto it until the graphic is needed. We click on the Upload an image button.
 After locating the picture we want, we're ready to go. Our image of Dickens appears in the window.
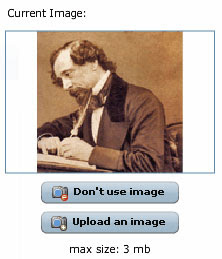 We click the Done button.
 With our picture of Dickens successfully uploaded, we click the GO button.
 Now, we're ready to add details about the major events to our timeline about the life of Charles Dickens. Therefore, we click the Add an Event button.
 A dialog box pops up. This box allows us to Title our event (in this case, the birth of Dickens) and choose the date associated with the event. Note that we can also add a description and choose an appropriate image as well.
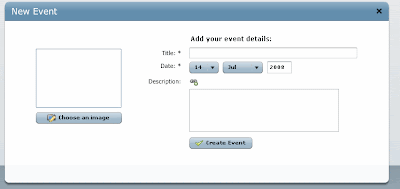
We begin to add our details. Dickens was born on February 7, 1812 so we select that date from the pull-down menu.
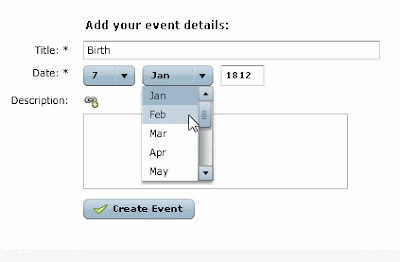 We add the pertinent details about the date date in the Description box.
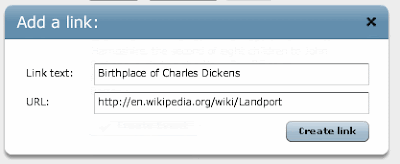
 We decide to link this description to a website that'll give our audience even more information about the topic. We do this by clicking the link icon next to the word Description.
 With the window that opens, we supply a title for our Link Text as well as the URL (or website) of the resource we want to reference. We people look at our timeline and they come to the event dealing with the Birthplace of Charles Dickens, they'll be taken to a webpage giving more details about the topic.
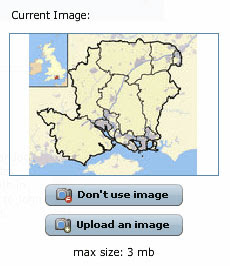
 As before, we can even choose and upload an image to represent this portion of the timeline. We simply click the Choose an image button.
 Once again, we've decided to upload an image from our computer. Note that we could link to an image from someone else's site. However, as this can be forwned upon, we'll use an image we've either downloaded or created (say, for example, by using the popular and free GIMP).
 In this instance, we're using an image of a map of the area where Dickens was born. After locating the image on on our computer, we're ready.
 Now that all of the important information has been associated with the date, we're prepared to place the event in the timeline. we'll do this by clicking the Create Event button.
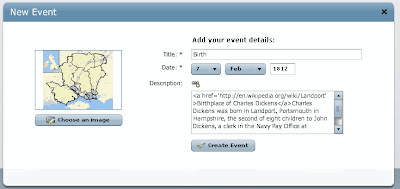
So, we click the Create Event button.
 Our timeline has one event, the birth of Charles Dickens.
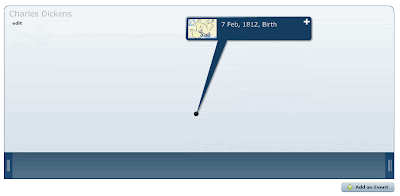 That's the process. All that remains to be done now is to continue to add events until the timeline about our topic is complete. We need only click the Add an Event button to return to our work.
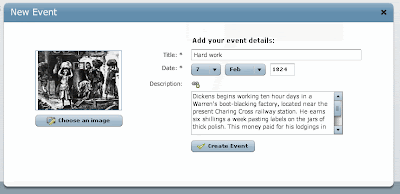
 We may, for example, choose to add an event about the hard work that Dickens endured as a 12 year old child, work that later found its way into his major stories.
 We may also wish to submit information about his work as an apprentice law clerk and how the experience resonated throughout his work about injustice and poverty.
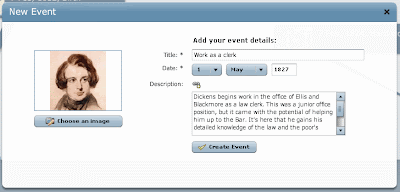 The more events we add to our timeline, the more detailed it becomes.
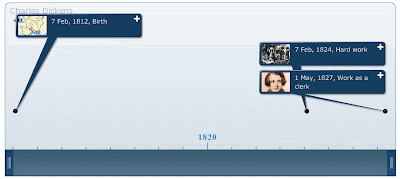
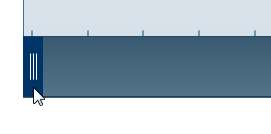
When viewing our timeline, we can expand or collapse it by clicking the tabs to the left or right of the line.
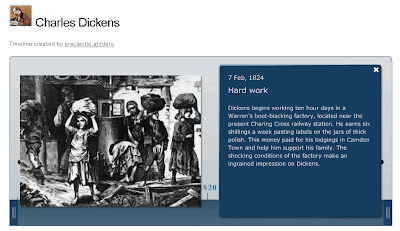
 To access the information, we've linked to each event, our audience can click on the plus sign (+) in the upper right hand corner of each event box. Note that this event also has an uploaded image associated with it.
 Clicking on the plus sign opens the event, revealing more details which, in turn, add context to the concept. In this case, the details explore the hard work Dickens undertook at age 12 in order to support his struggling family.
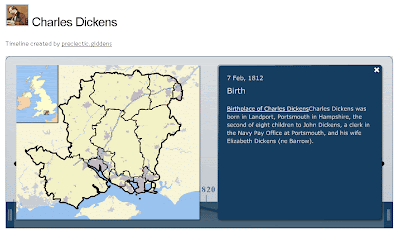
 Our timeline can also give viewers access to geographical information surrounding an event. In this case, it's the birthplace of Dickens.
Our time is ready to be published. Until we publish it, it's only a working draft. We can edit or delete it as we see fit. We can come back to the timeline and add details to it.
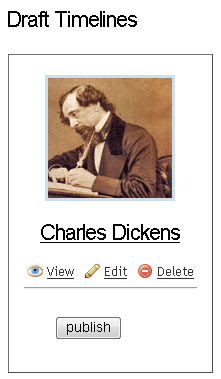 Once we click the Publish button, the timeline will be accessible to the public.
 There are many reasons why educators should integrate this resource within their content. Consider the power in having students research a meaningful topic or concept and construct a timeline related to it. This tool is free to use. It costs nothing but has the potential to pay great dividends in terms of understanding. Creating a timeline is a way to have pupils produce evidence of their learning. Using Timetoast also increases the likelihood that students will be using higher level thinking skills.


No comments:
Post a Comment